Setup Process Repository
Process Repository enhances collaboration and process documentation where you store the .vsd file to a SharePoint Document Library, and also attach documents or a URL hyperlink to any AgilePart or AgileWork. Also supported is the ability to attach process documentation at the process level. SharePoint is used as the process repository where all artifacts of a process can be accessed.
In order to utilize the Process Repository functionality, first verify that the AgilePointProcessRepository template is available in SharePoint.
To verify that the ProcessRepository template exists:
- On the SharePoint site, click Site Actions > Create.
- Verify that AgilePointProcessRepository is available under the Libraries section.
NOTE: Your SharePoint site administrator may have given this template a unique name.
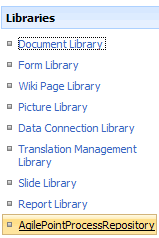
- You will use this template to create the process repository in SharePoint.
If the site template is not shown in the list, your SharePoint site administrator will need to deploy the ProcessRepository.stp template file to SharePoint using the instructions in this Knowledge Base article.
To setup Process Repository in SharePoint:
- Create a new SharePoint library and select the AgilePointProcessRepository template type.
NOTE: Your SharePoint site administrator may have given this template a unique name.
- Name the new library AgilePointProcessRepository or give it a desired name.
- The AgilePointProcessRepository library is now created for you, you will use this repository to publish the .vsd (AgilePoint Process Model) for collaboration, and also access the process documentation.
AgilePoint Envision allows you to attach documents or a reference URL at the process model level, and/or at the activity level (i.e. AgileParts and AgileWorks). The documents are to be stored in a SharePoint document library. If you would like to attach documents to the process, create a document library in SharePoint (e.g. Travel Request Process Documentation) to store the process documentation.
To associate process documentation at the Process Model level:
- Ensure that no activities are selected and the Process Template properties are visible.
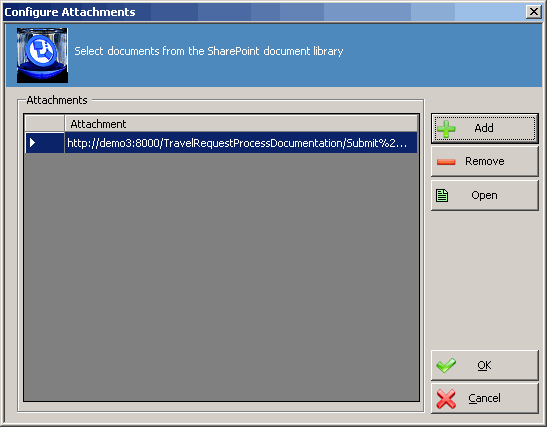
- In the “ProcessRepository” section, click the ConfigureAttachments property and click the ellipses button to open the Configure Attachments window. The Configure Attachments window appears.
- Click Add > SharePoint Document Library. The Get SharePoint Document Library window appears.
NOTE: Other document repositories may be supported in a future release.
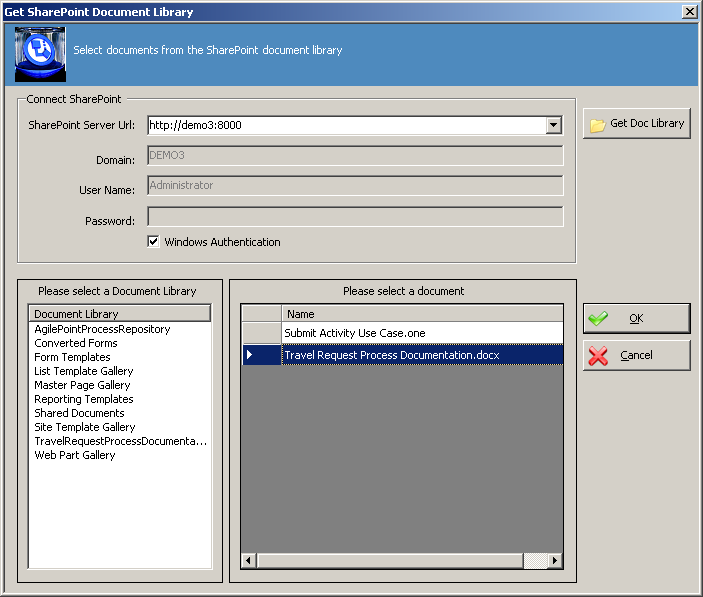
- In the SharePoint Server URL, type in the SharePoint URL and click Get Doc Lib.
- Check the Windows Authentication checkbox to allow the OS to authenticate you in SharePoint or provide alternative credentials in the text boxes provided to connect to SharePoint. Once connected, the Document Libraries are populated in the list.
- Select the Document Library where your documents are stored, select the document(s) and click OK.
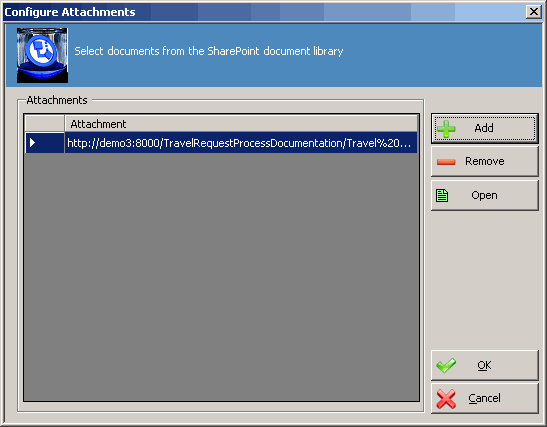
- The Configure Attachments window appears and the document now shows in the list of attachments. To add another document click Add, to remove a document click the document and click Remove, to open the document select the document and click Open.
You can also add a hyperlink to any online artifact by right-clicking and pasting the URL into the Reference URL property.

The next step will be to publish the documentation to SharePoint.
To associate Process Documentation at the Activity level:
- In a process model, click an AgilePart or AgileWork for which you would like to associate process documentation.
- In the “ProcessRepository” section, click the ConfigureAttachments property and click the ellipses button to open the Configure Attachments window. The Configure Attachments window appears.
- Click Add > SharePoint Document Library. The Get SharePoint Document Library window appears.
NOTE: Other document repositories may be supported in a future release.
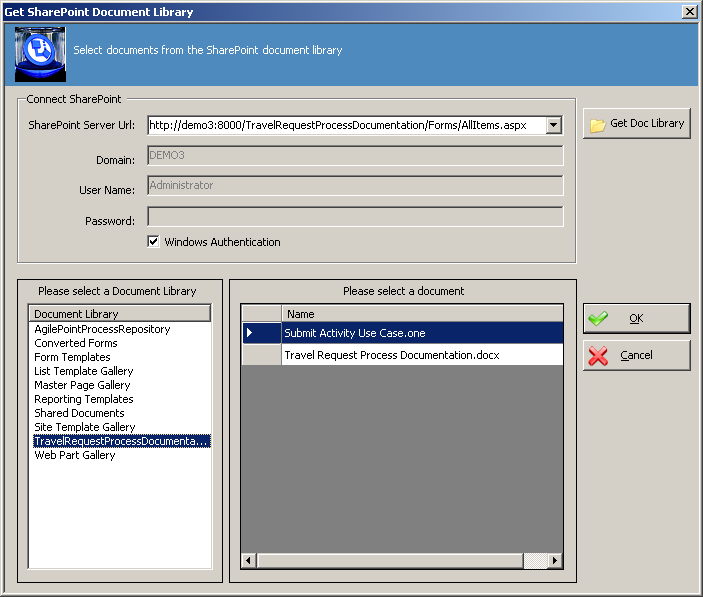
- In the SharePoint Server URL, type in the SharePoint URL and click Get Doc Lib.
- Check the Windows Authentication checkbox to allow the OS to authenticate you in SharePoint or provide alternative credentials in the text boxes provided to connect to SharePoint. Once connected, the Document Libraries are populated in the list.
- Select the Document Library where your documents are stored, select the document and click OK.
- The Configure Attachments window appears and the document now shows in the list of attachments. To add another document, click Add, to remove a document click the document and click Remove, to open the document select the document and click Open.
You can also add a hyperlink to any online artifact by right-clicking and pasting the URL into the Reference URL property.
The next step will be to publish the documentation to SharePoint.